Creating 3D lenticular images |
Three dimensional vision is achieved by merging the image data from the left and right eyes within the brain. This phenomenon is called parallax. It shows the apparent placement of an object relative to its background when viewed from slightly different positions.
The trick is to provide a different image to each eye, just like the good old View Master. This creates depth and gives the impression of three dimensions. The View Master works with a stereo pair, but lenticular printing works with many stereo pairs thus allowing the viewer to perceive the depth effect from different points.
Creating 3D lenticular images using Photoshop
One of the most common techniques is to create an image composed of different layers using 2D image software such as Adobe Photoshop. To create an illusion of parallax, image layers are moved laterally within Photoshop.
Some lenticular software will also allow to create this kind of effect.
When interlaced as described before, the lenticular lens separates the image seen by your left eye from the image seen by your right eye.
This allows reconstruction of the depth effect using our own stereoscopic vision.

Although this is one of the most common methods, the result can look rather flat (like a stage set) as each layer within the image is actually flat. To generate more volume, you can create a depth map or switch to more powerful 3D software tools.
Creating 3D lenticular images using specialist 3D software
Special 3D software gives users much more flexibility when working with the image (light, views, etc …) and allows a perfect fit to the lenticular material used.
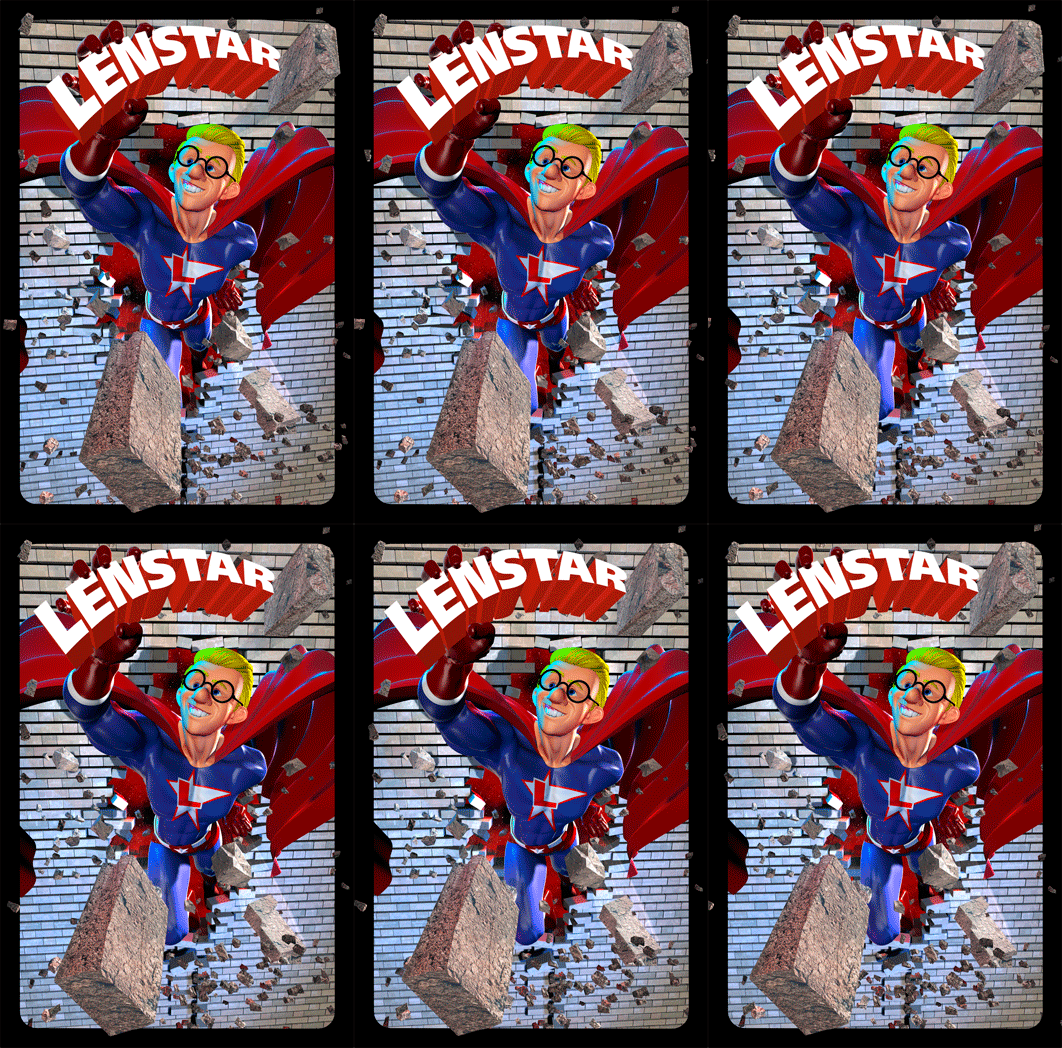
Our friend “Lenny” was created using Autodesk 3D Studio Max.
Other software can be used such as Maya, Lightwave 3D, Cinema 4D, etc….
Lenny was modeled and scenery was built around him. To enhance realism, shadows and light were added to the scene.
By applying a rotation to the scene (as if it was on a turntable), images are generated (“rendered”) from different angles.
The number of images generated depends on the number of lenticulars per inch (LPI) and the final resolution of the lenticular image.
The movement from one image to another is adjusted to create an optimal illusion of relief. These parameters (number of images and movement) will minimize the “jump” between the different views, and guarantee a smooth transition from one image to another.
There are different ways to generate images. In this example, the scene was “turning” before the camera.
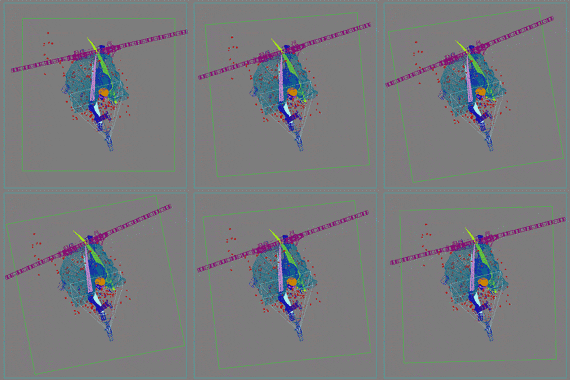
Another option would be to move the camera laterally in front of the scene.
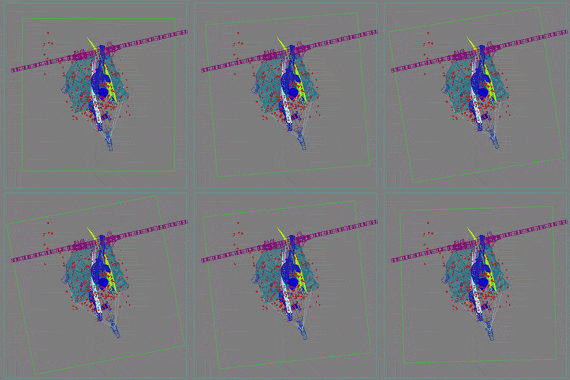
One consequence of this approach is a slight distortion in the scene that would create a curve effect.
For example, the brick wall would appear to be slightly cylindrical.
This drawback could be eliminated by moving the camera horizontally instead of rotating
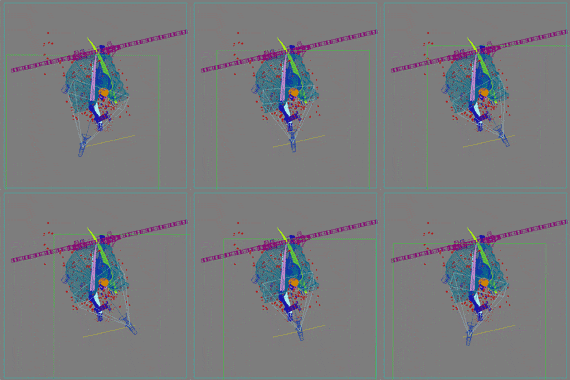
In the case of the “Lenny” picture, rotation has been chosen to give the scene more depth and dynamism.
Creating 3D lenticular images using stereoscopic photographs
Another possibility is to work from stereoscopic photographs.
Software solutions like “StereomorpherPlus” or “Stereo Tracer” will generate a sufficient number of images for lenticular printing. This will allow to create lenticular images from MPO files generated by the Fuji FinePix REAL 3D camera.
Creating 3D lenticular images using live photographs
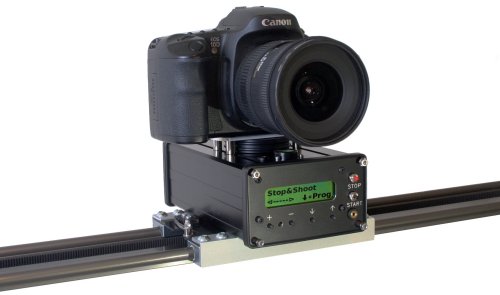
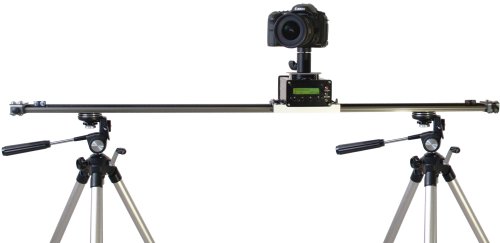
Creating 3D images from live scenery or people can be achieved by means of a camera mounted on a rail. The displacement and the number of shots will depend on the type of picture and the resolution of the lenticular sheet being used.
Thanks to these affordable and simple solutions, true high quality relief photos are accessible to everyone.
Here is an example of such a photo rail called ScanMachine.
© Gildas Le Lostec – www.panomachine.com
This rail allows precise movement of the camera and has the advantage of being easily transportable.
Lenticular Photo Capture program is designed to control the digital cameras connected to the computer via USB. (Only Canon DSLRs are supported for now.)


